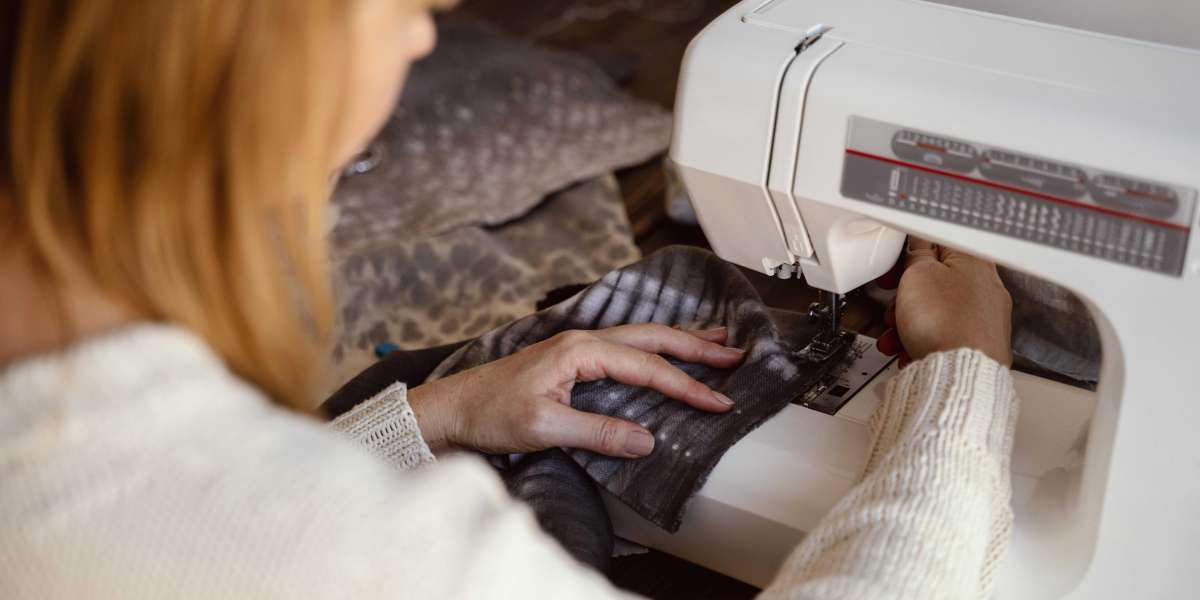

Nothing is more frustrating than watching your embroidery machine stop every few minutes because the thread keeps breaking. You're halfway through a beautiful design, and suddenly, the machine pauses again. Sound familiar?
The good news is that most thread break issues are easy to fix once you know what's causing them. In this guide, you'll learn how to stop thread breaks in embroidery, improve stitch quality, and keep your embroidery machine running smoothly. Whether you're a beginner or an experienced embroiderer, these practical tips can help save time, reduce waste, and produce cleaner embroidery.
Why Does Thread Break During Embroidery?
Thread breaks happen when something interrupts the smooth flow of thread through the machine. Sometimes the problem is obvious, while other times it's a combination of small issues.
Common causes include:
- Incorrect thread tension
- Worn or bent needles
- Poor-quality embroidery thread
- Improper threading
- Dirty machine parts
- Incorrect digitizing
- Excessive stitching speed
Finding the real cause is the first step toward fixing the problem.
Check Your Embroidery Needle
A damaged needle is one of the most common reasons for thread breaks.
Replace your needle if it is:
- Bent
- Dull
- Rusty
- Burr damaged
- Used for many hours
A fresh needle allows the thread to pass smoothly through the fabric, reducing unnecessary friction.
As a general rule, changing needles regularly helps maintain consistent embroidery quality.
Use High-Quality Embroidery Thread
Not all embroidery thread is created equal.
Low-quality thread may contain weak spots, uneven thickness, or poor finishes that increase the chance of breaking.
Choose thread that offers:
- Consistent thickness
- Smooth finish
- Good tensile strength
- Reliable colorfastness
Quality thread may cost a little more, but it often saves money by reducing downtime and wasted materials.
Verify the Thread Path
Incorrect threading can create extra tension that causes frequent breaks.
Carefully inspect the entire thread path.
Make sure the thread:
- Passes through every guide
- Sits correctly in tension discs
- Moves freely
- Isn't wrapped around any components
Even a small mistake while threading can interrupt production.
Adjust Thread Tension Properly
Thread tension plays a major role in embroidery quality.
If the upper tension is too tight, the thread experiences excessive stress and may snap during stitching.
If it's too loose, you may notice looping, uneven stitches, or poor design quality.
Always make small adjustments and test sew before changing multiple settings.
Clean Your Embroidery Machine
Lint builds up faster than many people realize.
Dust and thread fibers can collect around:
- Bobbin case
- Hook assembly
- Thread guides
- Tension discs
- Needle plate
Regular cleaning helps your machine operate smoothly and reduces unnecessary thread friction.
Think of it like maintaining a car—routine cleaning prevents bigger problems later.
Slow Down the Stitching Speed
Running at maximum speed isn't always the best choice.
For detailed embroidery or delicate fabrics, reducing the machine speed often:
- Lowers thread tension
- Improves stitch accuracy
- Reduces vibration
- Minimizes thread breaks
Sometimes slowing down by just a small amount makes a noticeable difference.
Use Proper Stabilizers
Fabric movement can place additional stress on embroidery thread.
Using the correct stabilizer helps keep the fabric steady during stitching.
Choose stabilizers based on:
- Fabric thickness
- Design density
- Garment type
- Stretch level
Stable fabric leads to smoother embroidery and fewer interruptions.
Check Your Embroidery Design
Sometimes the machine isn't the problem—the embroidery file is.
Poor digitizing may include:
- Excessive stitch density
- Tiny stitch lengths
- Poor stitch sequencing
- Incorrect underlay
- Sharp angle changes
These issues force the machine to work harder, increasing the likelihood of thread breaks.
At Digitizing Buddy, every embroidery design is manually optimized with balanced stitch density, efficient stitch paths, and proper underlay to help machines stitch more smoothly and reduce production issues.
Common Mistakes That Cause Thread Breaks
Avoid these common errors:
- Using old needles.
- Choosing cheap embroidery thread.
- Ignoring machine maintenance.
- Stitching too fast.
- Skipping test stitches.
- Using poor-quality digitized files.
- Incorrectly threading the machine.
Fixing even one of these issues can dramatically improve embroidery performance.
Prevent Thread Breaks Before They Start
Prevention is always easier than troubleshooting.
Create a simple maintenance routine:
Daily
- Remove lint
- Check thread path
- Inspect the needle
Weekly
- Clean the bobbin area
- Oil recommended parts
- Test thread tension
Monthly
- Inspect moving components
- Replace worn needles
- Review machine calibration
A few minutes of maintenance can prevent hours of production delays.
Signs Your Machine Needs Attention
Watch for these warning signs:
- Frequent thread breaks
- Skipped stitches
- Uneven tension
- Strange machine noises
- Frayed thread
- Excessive lint buildup
Addressing small issues early often prevents expensive repairs later.
Tips for Better Embroidery Results
To consistently produce clean embroidery:
- Use quality embroidery thread.
- Replace needles regularly.
- Keep your machine clean.
- Test every new design.
- Use the correct stabilizer.
- Reduce speed for detailed designs.
- Choose professionally digitized embroidery files.
These habits improve both machine performance and finished embroidery quality.
Conclusion
Learning how to stop thread breaks in embroidery doesn't require expensive equipment or advanced technical skills. Most problems are caused by everyday issues such as worn needles, poor threading, incorrect tension, or low-quality digitizing.
By maintaining your machine, using quality materials, and working with professionally prepared embroidery files from Digitizing Buddy, you'll enjoy smoother stitching, fewer interruptions, and consistently better embroidery results. A little preventive care goes a long way toward keeping your embroidery projects stress-free.
FAQs
1. Why does my embroidery thread keep breaking?
Common causes include incorrect thread tension, damaged needles, poor-quality thread, improper threading, excessive stitching speed, or poorly digitized embroidery files.
2. How often should I replace my embroidery needle?
Most embroidery professionals recommend replacing the needle after several hours of stitching or whenever it becomes dull, bent, or damaged.
3. Can poor digitizing cause thread breaks?
Yes. High stitch density, incorrect stitch sequencing, and poor underlay can place extra stress on the thread, increasing the chance of breaks.
4. Does machine speed affect thread breaks?
Yes. Running at very high speeds can increase tension and friction. Slowing the machine slightly often improves stitch quality and reduces thread breakage.
5. What's the best way to prevent thread breaks?
Use quality thread, replace needles regularly, clean your machine, check thread tension, use the proper stabilizer, and stitch with professionally digitized embroidery files.