
Have you ever looked at a logo or photo and wondered how it becomes a beautiful embroidered design? It might seem like magic, but the secret lies in embroidery digitizing software. The right software transforms ordinary artwork into stitch instructions that an embroidery machine can understand.
Finding the best software to digitize images for embroidery is important whether you're creating custom apparel, company logos, patches, or personalized gifts. In this guide, we'll explain what embroidery digitizing software does, the features to look for, and how to choose the best option for your embroidery projects.
What Is Embroidery Digitizing Software?
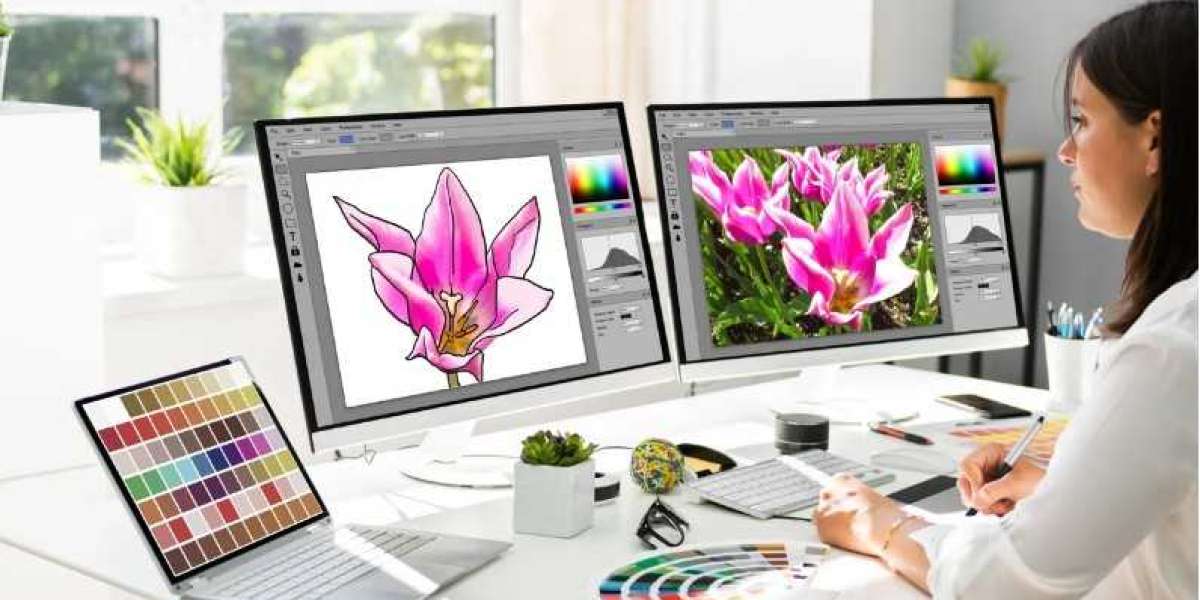
Embroidery digitizing software is a specialized program that converts artwork into embroidery stitch files.
Unlike image editing software, it doesn't simply change the appearance of a picture. Instead, it creates detailed stitch instructions, including:
- Stitch types
- Stitch direction
- Stitch density
- Underlay stitches
- Thread colors
- Needle sequence
- Start and stop points
These instructions allow an embroidery machine to recreate your design accurately on fabric.
Why the Right Software Matters
Using the right embroidery software can make a huge difference in both design quality and production efficiency.
Good software helps you:
- Create smoother stitch paths
- Improve embroidery accuracy
- Reduce thread breaks
- Minimize fabric puckering
- Edit lettering easily
- Save production time
Think of embroidery software as the architect behind every stitched design. A strong blueprint leads to better results.
Features to Look for in the Best Software to Digitize Images for Embroidery
Not every embroidery program offers the same capabilities. Before making your choice, look for software with these essential features.
Automatic and Manual Digitizing
Automatic digitizing is helpful for simple artwork and beginners, while manual digitizing provides complete control over stitch quality and design details.
Combining both methods often delivers the best results.
Multiple File Format Support
Choose software that can import popular artwork formats such as:
- JPG
- PNG
- SVG
- AI
- EPS
Broad compatibility makes it easier to work with customer logos and artwork.
Stitch Editing Tools
Professional software should allow you to modify:
- Stitch density
- Stitch angle
- Pull compensation
- Underlay
- Stitch sequence
- Entry and exit points
These adjustments help produce cleaner and more durable embroidery.
Lettering and Monogram Features
If you frequently embroider names or logos, built-in embroidery fonts and lettering tools can significantly speed up your workflow.
Real-Time Stitch Preview
A stitch simulator allows you to preview the finished design before stitching, helping you catch mistakes early and reduce wasted materials.
Benefits of Using Quality Embroidery Digitizing Software
The right software offers more than convenience.
Improved Embroidery Quality
Accurate stitch placement creates smoother designs with fewer thread breaks and cleaner edges.
Faster Production
Well-organized tools reduce editing time, allowing you to complete customer orders more efficiently.
Greater Design Flexibility
Modern embroidery software makes it easier to digitize:
- Company logos
- Monograms
- Uniforms
- Sports apparel
- Embroidered patches
- Hat designs
- Jacket backs
- Decorative artwork
This flexibility is valuable for both hobbyists and commercial embroidery businesses.
Manual Digitizing vs Automatic Digitizing
Choosing between manual and automatic digitizing depends on the complexity of your project.
Manual Digitizing | Automatic Digitizing |
Complete stitch control | Faster conversion |
Better for detailed artwork | Best for simple designs |
Higher embroidery quality | Saves time for beginners |
Requires experience | Requires manual corrections |
While automatic tools are convenient, manual editing usually produces more professional embroidery.
Tips for Better Embroidery Digitizing
Getting excellent embroidery results requires more than good software.
Follow these practical tips:
- Start with high-resolution artwork.
- Use vector graphics whenever possible.
- Simplify tiny design details.
- Choose the correct stitch type.
- Test stitch every new design.
- Match stitch density to the fabric.
- Adjust pull compensation when needed.
These small steps can significantly improve the final embroidery.
Common Mistakes to Avoid
Even experienced embroiderers occasionally make mistakes.
Avoid these common problems:
- Using blurry artwork
- Overloading stitch density
- Ignoring underlay stitches
- Making lettering too small
- Choosing incorrect stitch directions
- Skipping test stitching
- Relying entirely on automatic digitizing
Correcting these issues early helps prevent costly production errors.
Why Professional Digitizing Is Still Important
Powerful software is only part of the embroidery process. Experience and technique are equally important.
Professional digitizers understand how to optimize:
- Stitch sequencing
- Underlay placement
- Fabric compensation
- Density settings
- Thread paths
At Absolute Digitizing, our experienced team manually refines every embroidery design to ensure clean stitching, balanced density, and outstanding results on a wide variety of fabrics. By combining advanced software with expert digitizing skills, we help customers achieve professional-quality embroidery every time.
How to Choose the Best Software for Your Needs
The best software depends on your goals and experience level.
Before making a decision, consider:
- Your budget
- Skill level
- Machine compatibility
- Editing features
- Learning curve
- Technical support
- Future business growth
Choosing software that fits your workflow is more valuable than selecting the one with the longest feature list.
Conclusion
Finding the best software to digitize images for embroidery is an important step toward creating professional embroidery designs. The right software simplifies the digitizing process, improves stitch quality, and helps your embroidery machine produce accurate, consistent results.
Remember that software is only one part of the equation. High-quality artwork, proper machine settings, and skilled digitizing all contribute to successful embroidery. If you want flawless embroidery files that save time and reduce production issues, partnering with Absolute Digitizing can help you achieve outstanding results on every project.
FAQs
1. What is the best software to digitize images for embroidery?
The best software offers manual editing tools, automatic digitizing, stitch simulation, lettering features, and compatibility with common embroidery file formats.
2. Can I automatically convert an image into an embroidery file?
Automatic digitizing works for simple designs, but detailed logos and complex artwork usually require manual editing for the best embroidery quality.
3. Why is embroidery digitizing software important?
It converts artwork into stitch instructions, allowing embroidery machines to create accurate, clean, and professional-looking designs.
4. Is embroidery digitizing difficult for beginners?
Learning the basics is relatively easy, but mastering manual digitizing takes practice, patience, and regular testing.
5. Can professional digitizing improve embroidery results?
Yes. Professional digitizing optimizes stitch density, underlay, stitch paths, and compensation, resulting in smoother embroidery, fewer thread breaks, and better overall quality.